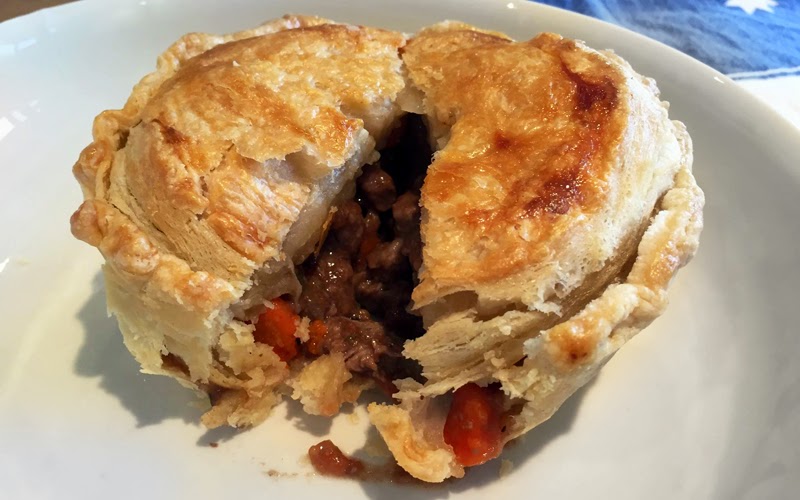
Whether you’re looking to cook up a decadent breakfast pastry, crowd-pleasing Piggies in a Blanket, or an Australian Meat Pie, this homemade light, buttery, flakey, layered goodness is worth all five steps.
Courtesy of: Maria Rodale, CEO of Rodale Inc., organic activist, food blogger & mom of three. As Maria says on her blog, “I am not a pastry chef. I’m a hungry woman who is fundamentally lazy, even though I’m crazy enough to make puff pastry from scratch… this recipe may not be perfect, but it will be perfectly delicious.” You can check out the Original Puff Pastry blog post from Maria's blog.
4 Tablespoons unsalted butter, cubed
2 cups all-purpose flour, chilled (plus a little more for dusting)
1½ teaspoons salt
1½ teaspoons cider vinegar
¾ cup water, chilled
16 Tablespoons unsalted butter, chilled
WARNING: Puff pastry needs at least 24 hours of advance work. Other than that, it’s not too hard.
Part one:
Mix the flour and salt in a bowl and toss in the butter, which should be softened slightly. Mix together gently with your fingers. Add the vinegar to the water; add the vinegar-water to the dough and mix it together. Put it out on the counter (with some flour to dust) and gently knead to make the dough smooth. Flatten the dough into a round flat ball and wrap it in plastic then put it in the fridge for 20 minutes.
Part two:
Take the 16 tablespoons of butter out of the fridge and let it soften a bit. Get out some parchment paper and roll out the butter between the sheets to a half-inch-thick 4-inch square (or so). Get the pastry out and roll it out on a lightly floured surface to make a 4 x 8? rectangle. Put the butter at one end and fold it over to cover it. It’s like you are making/wrapping a butter present!
Part three:
Now the fun begins (the making a book part). Roll the dough out in a long 4 x 18? sheet. Fold both ends in toward the center as if you are making a “gatefold.” (I found that a spatula helps if it gets stuck.) And then fold it again so you have a “book.” Wrap it up in plastic and then put it in the fridge. Wait 30 minutes and then do it again, making sure that the “spine” of the book is always on the left (that’s how you know you are rotating properly). Now go to bed. Or whatever. Wait “24 hours,” give or take.
Part four:
Do this whole rolling, folding, and wrapping thing two more times (waiting 30 minutes between each). Let the dough warm up a tiny bit after you take it out from the long refrigerator rest. Refrigerate for 30 minutes before doing the final rolling and cutting for your pie lids.
Part five:
Roll out for the final time. Be gentle when you cut…don’t want to smoosh all those lovely layers! Make the lid slightly larger than your pie top because it might shrink a bit when you cook it. Use the egg wash (1 raw beaten egg and a bit of water) to glue it together and polish the top.


1 comment:
This sounds like a delicious dough which is sure to be flaky. All it needs is time. I probably,would not put I gear I my ripe because my husband can react badly to it.
Post a Comment